
How to Prepare Land Faster with a Mini Excavator
Land prep by hand is slow, backbreaking work that can stretch a simple project into weeks. Brush won't clear itself, water keeps pooling in the same low spots, and every buried rock feels like a personal insult.
NEW MINI EXCAVATOR FOR SALE
7/12/20267 min read
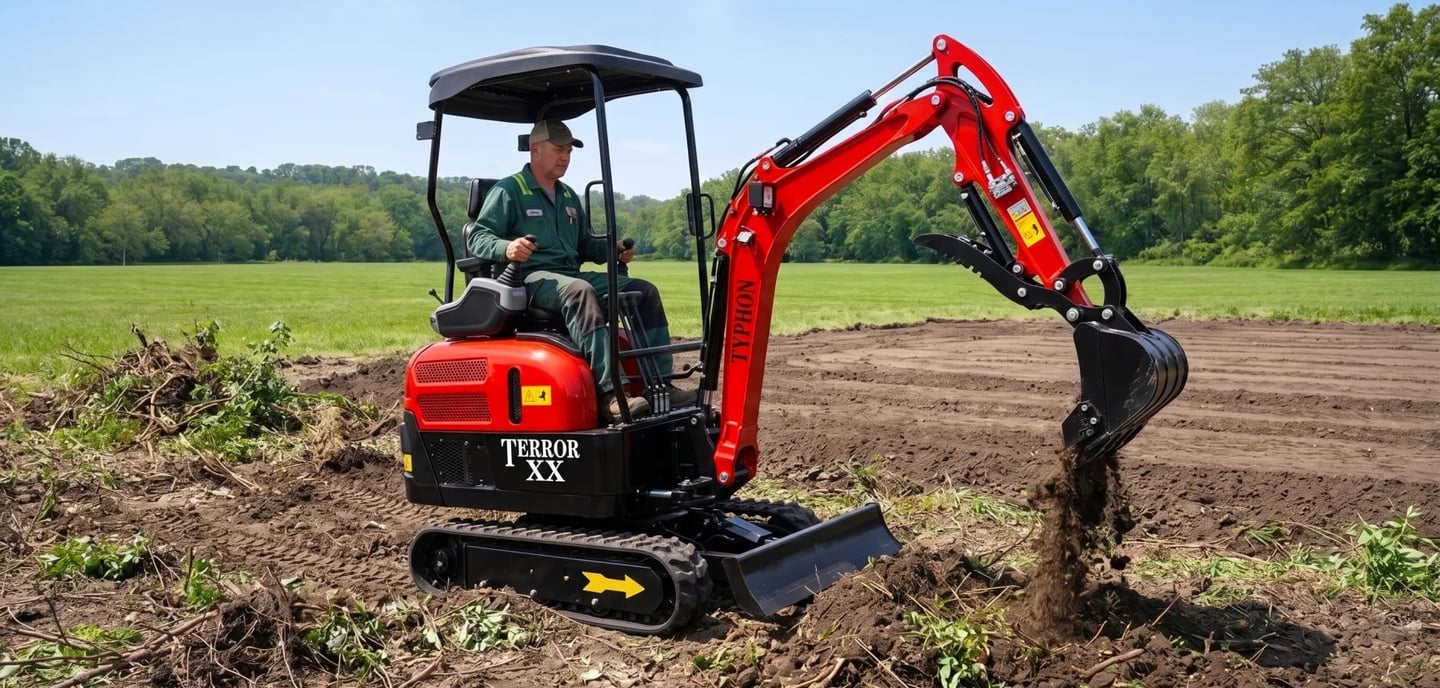
Land prep by hand is slow, backbreaking work that can stretch a simple project into weeks. Brush won't clear itself, water keeps pooling in the same low spots, and every buried rock feels like a personal insult. A mini excavator changes the math entirely. It clears, grades, digs, and lifts in hours what would take a crew days, and it does the work with precision you can't match with a shovel and a strong back.
The biggest advantage shows up once the machine is on site and working. Instead of switching between multiple tools and constantly resetting your approach, you can move through different phases of land prep in one continuous flow, cutting high spots, filling low areas, and removing obstacles as you go. That steady progress keeps the project from stalling and turns uneven ground into usable space much faster.
It also reduces the physical strain and unpredictability that come with manual labor. Operators stay in control from the cab while the machine handles the heavy lifting, digging, and pulling. That means fewer injuries, less fatigue, and a more consistent result across the entire site, even when conditions change from one section of land to the next.
Clear Overgrown Land Without the Backbreaking Labor
The biggest difference is how quickly that frustration turns into progress once you bring a mini excavator into the mix. Instead of fighting the land piece by piece, you work through it in a steady flow, stripping back overgrowth, pulling hidden roots, and opening up the ground in a way that actually moves the project forward.
It also gives you a clearer picture of what the land can become. As the brush comes down and the surface opens up, you start to see usable space forming in real time, which makes planning the next steps easier and more practical.
Start With the Right Attachment
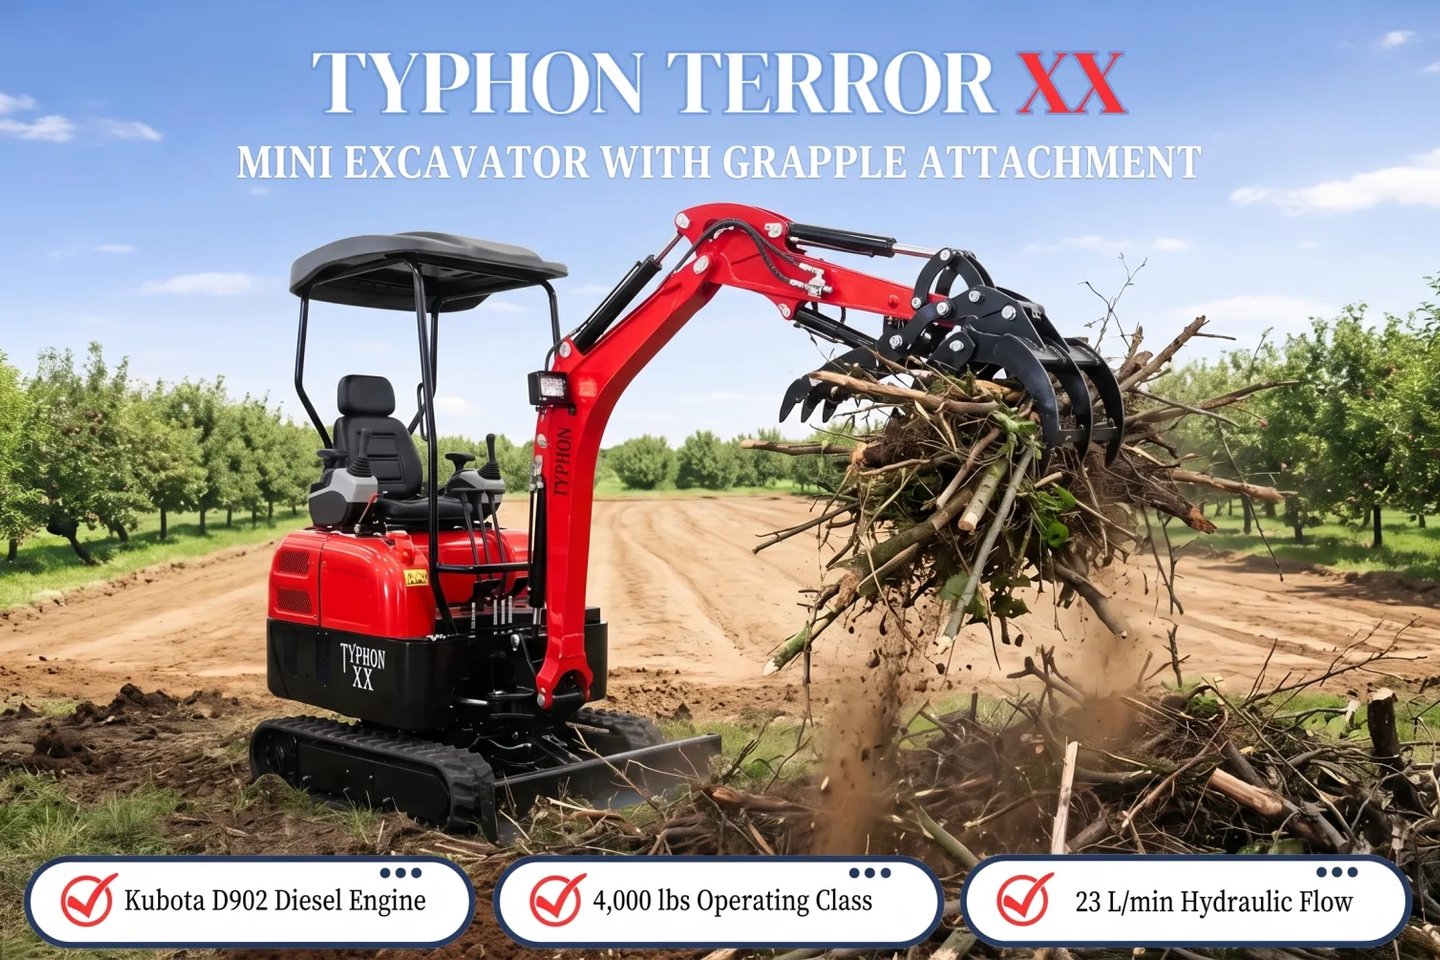
The attachment you choose sets the pace for the whole job. A bucket handles light brush and loose material, while a thumb or grapple grips saplings, branches, and debris you'd otherwise drag by hand.
For heavier growth, a grapple lets you clear, pile, and load in one smooth motion. Match the tool to what's actually on the ground and you'll move through the work far faster.
Work in a Logical Pattern
Random clearing wastes fuel and time. Instead, work methodically across the site so you're not doubling back over ground you've already covered.
Start at one edge and move steadily across the area.
Pile debris in one spot for easy hauling or burning later.
Clear low growth first, then tackle stumps and roots.
Keep the machine level as you work uneven ground.
Takeaway: A steady, edge-to-edge pattern with the right attachment clears more land in less time and leaves you a clean site to build on.
Grade and Level for a Clean, Usable Site
Once the ground is clear, grading gives you a surface you can actually use. Uneven land causes drainage problems, unstable structures, and wasted space. A mini excavator's precise controls let you shape the ground exactly how you need it.
It also helps you correct problem areas instead of just working around them. Low spots can be filled, high points trimmed down, and transitions smoothed out so water flows naturally and the site becomes more stable over time. With steady, controlled movements, you can create a consistent finish that supports whatever you plan to build or plant next.
Cut High Spots, Fill Low Ones
Good grading is a balancing act. Use the bucket to shave down high spots and move that material into low areas, building toward an even surface.
Work in thin passes rather than trying to move everything at once. Small, controlled cuts give you a cleaner result and keep the machine stable as you go.
Build In the Right Slope
A perfectly flat site is not always the best result. Most projects require a slight, consistent slope to direct water away from structures and prevent pooling. When grading, shape the ground so it slopes gently away from building pads, foundations, driveways, and pathways, checking your progress regularly by eye or with a level to maintain a smooth, even grade. A grading or tilt bucket provides better control for creating gradual slopes and making fine adjustments. By cutting, filling, and shaping the ground in thin, controlled passes, you can create a level, well-drained surface that remains stable and performs well for years to come.
Dig Drainage That Protects Your Land
Standing water is one of the fastest ways to ruin usable land. It floods low spots, undermines structures, and turns pasture into mud. Digging proper drainage with a mini excavator routes that water where you want it and protects everything you build.
It also allows you to shape drainage paths with far more accuracy than manual digging, so water moves consistently instead of pooling or cutting new unwanted channels. By controlling depth, slope, and direction as you work, you can create a system that continues to perform long after the project is finished and helps keep the entire property dry, stable, and usable year-round.
Plan the Water's Path First
Before you dig, decide where the water needs to go. Walk the site after a rain and note where it collects and where it naturally wants to flow.
Plan your trenches to carry water away from low spots, barns, and building pads toward a safe outlet. A clear plan up front saves you from re-digging later.
Trench With Precision
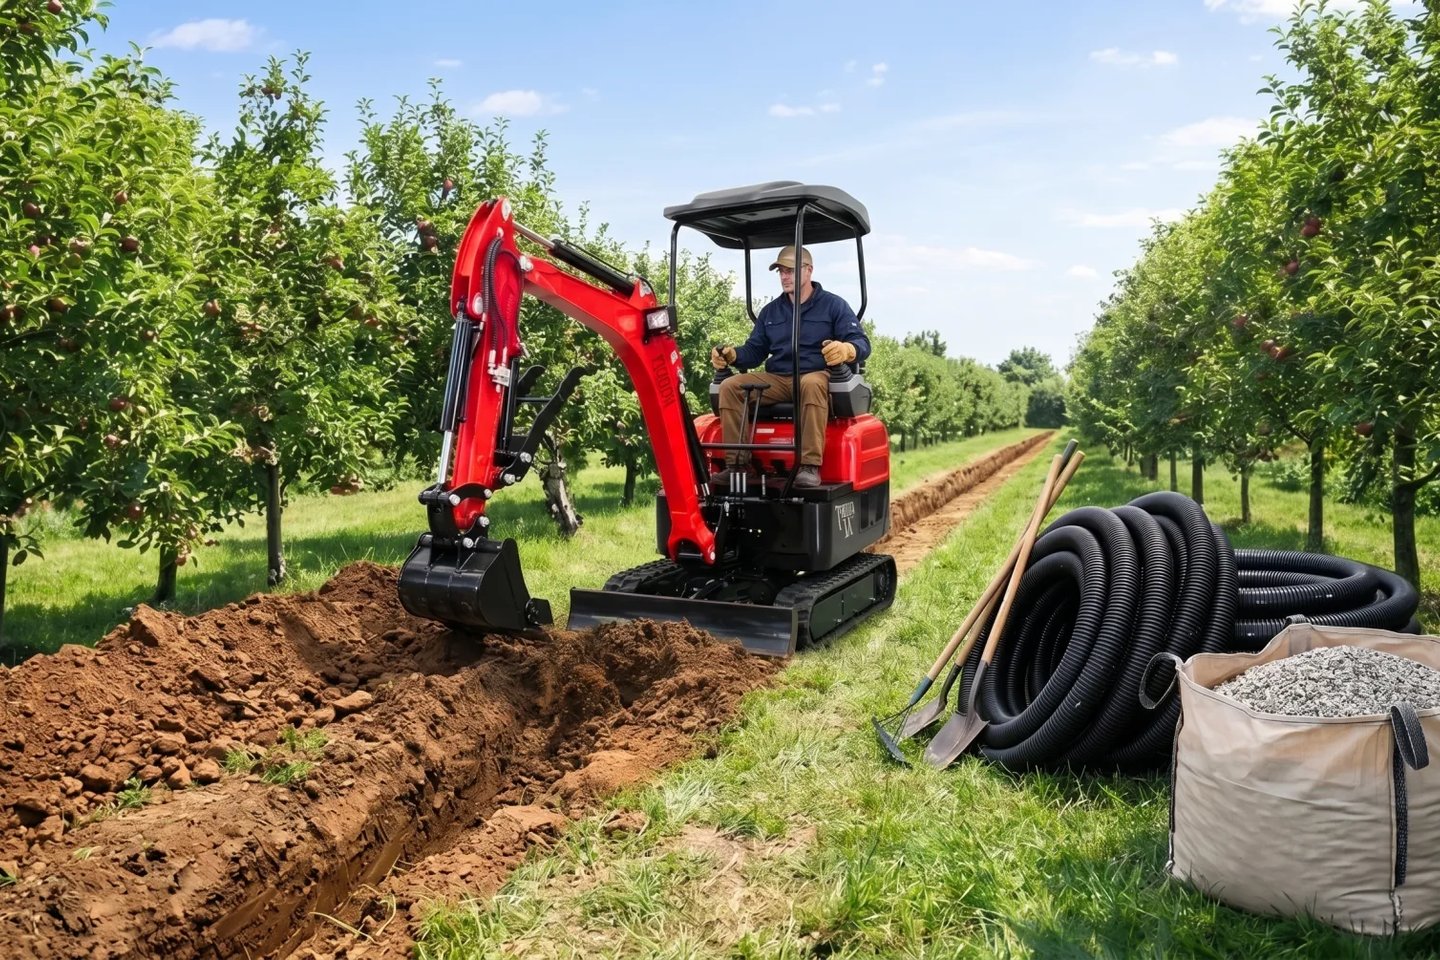
A mini excavator makes drainage installation much faster by digging clean, consistent trenches with far less effort than manual labor. For the best results, use a narrow trenching bucket for French drains and pipe runs, and maintain a steady grade throughout the trench so water flows properly without pooling. Once the trench is complete, install the gravel and pipe before backfilling, then compact the soil in layers to create a stable, long-lasting finish. Careful planning and consistent trench depth help ensure the drainage system performs reliably and protects your property during heavy rainfall and wet seasons.
Remove Obstacles Efficiently
Stumps, rocks, and buried roots are the obstacles that stall most land prep projects. Trying to muscle them out by hand is exhausting and often impossible. A mini excavator uses leverage and hydraulic power to pull them free with far less strain.
It also speeds up cleanup and site preparation by allowing you to remove multiple obstacles in a single workflow instead of tackling them one at a time. Once stumps, rocks, and roots are out of the way, you’re left with a clearer, more workable surface that makes every next step of the project faster and easier to complete.
Tackle Stumps and Roots
Stumps come out faster when you expose the roots first. Dig around the base to loosen the soil, then use the bucket to pry and lift.
A thumb attachment helps here, letting you grip and wrestle the stump loose rather than just pushing on it. Work the root ball from multiple sides for the cleanest removal.
Handle Rocks and Debris Safely
Removing rocks and debris requires patience and proper technique to avoid damaging the machine or compromising stability. Before lifting large rocks, dig around them to loosen the surrounding soil and reduce the force needed for removal. Keep loads low and close to the excavator while moving them, and allow the hydraulic system to do the work instead of forcing the bucket through stubborn material. Place removed rocks and debris in a designated stockpile to simplify loading and disposal later. Taking the time to expose, loosen, and lift obstacles correctly helps protect the excavator while keeping the project moving efficiently.
Conclusion
Preparing land with mini excavators transforms a slow, labor-intensive process into fast, controlled work. From clearing overgrown vegetation and grading uneven ground to installing drainage and removing rocks or debris, these machines complete demanding tasks with greater speed, precision, and efficiency than manual labor. Using the right attachments for each stage further improves productivity while delivering cleaner, more consistent results.
The best results come from following a logical workflow by clearing the site first, then grading and leveling the surface, followed by drainage installation and obstacle removal. This organized approach minimizes rework, keeps the project on schedule, and creates a stable, well-prepared site for future use. By selecting the right machine, pairing it with suitable attachments, and planning each step carefully, you can prepare your land more efficiently while maximizing the value of your equipment.
Frequently Asked Questions
What's the best time of year to prep land?
Late spring through early fall usually works best, when the ground is firm but not frozen. Avoid digging in very wet conditions, since saturated soil is unstable and hard to grade. Dry, settled ground gives you cleaner cuts, better traction, and safer operation overall.
How deep can a mini excavator dig?
Dig depth depends on the machine's size. A compact one-ton model typically reaches around 6 feet, while larger three- to four-ton machines can dig 8 to 10 feet or more. Check the specs against your deepest planned trench or footing before you start.
How long does land prep usually take?
It depends on the size and condition of the site, but a mini excavator dramatically shortens the timeline. A small clearing and grading job that might take a crew several days by hand often wraps in a day or two with the machine. Rough terrain and heavy obstacles add time.
Can a mini excavator handle rocky soil?
Yes, within reason. A mini excavator digs through rocky and compacted soil far better than manual tools, especially with a strong bucket and adequate hydraulic power. For very large boulders or solid rock, you may need a breaker attachment or a larger machine to finish the job.
How do I prep land for a building project?
Start by clearing all vegetation, then remove stumps, roots, and rocks from the footprint. Grade the site level with a slight slope for drainage, and dig any needed trenches for footings or utilities. Compact the ground as you go so the pad stays stable under the structure.
NewExcavatorsfor Sale
High-quality, compact construction equipment and attachments, including mini
Support
TYPHON Machinery Offices
2522 S Malt Ave. Commerce, CA 90040 United States
Phone Support
Sales : +1 213-214-2203
Logistic : +1 626-389-2472
Sales : Sales@typhonmachinery.com
Logistic : Logistics@typhonmachinery.com
Tech Support : Support@typhonmachinery.com
newexcavatorsforsale © 2025. All rights reserved.